Final Project Post

Most of you live in NYC and hopefully and none of you have to commute long distances.My project had a simple goal. To display the most popular subway lines and their stations in the Borough of Manhattan and to show at least one train object going along the subway lines.I used longitude and latitude coordinate from google maps as a reference for each stop but in the real world these coordinates are almost identical so I had to shift them drastically in my program. My initial goal was to pull in data from the MTA and to set up the train speeds and positions.I was going to use higher level Object Orientated Programming such as Inheritance and polymorphism and maybe a data structure such as a doubly linked list to store the stops.However, from the Professors comments I looked at my project and realized that I wont be able to finish this in a week.So I decided to write raw code, using nothing but the built in types to create my program from the ground up. I went through many different design implementations when working on my code. Looking back now there are probably ways I could have optimized my code to make it look better and less clunky and less hard coded for the most part. I was greeting really frustrated that I never got the display to work properly and that is really the only thing I would like to fix in this version hopefully. I was going to use a library class called Tracer but I didn’t understand how to implement that library so I asked the professor for some help on how to do it with out the tracer class. This class has taught me a lot of how to use code to visualize things in the real world. Im not the most artistic person so although art that was created by code has its own purpose its just something I don’t want to pursue. I’m more of a functional programmer who enjoys making code that can be used as tools and optimize peoples days. My plans for this moving foreword is to begin development on an app that will map the subway stops and stations in real time so people can know exactly where their trains are. I would obviously have to know more about processing and graphical programming but I have an alpha version. I would also like to teach my self OpenFrameWorks because C++ is the language I prefer but I definitely am going to take the Java class because Java kicked my ass with this project so time to kick back.

https://www.openprocessing.org/sketch/546054

https://onlinegdb.com/BkyBrr2Tf

https://drive.google.com/open?id=1Fkiwz10AaB6M5kS2zv5tJ8I6_u7GTR3y

The second link is data processing code written in C++ its only source code. The third link is the entire solution with the text files and implementation files. You would a C++ IDE and text editor if you would like to compile the the code and see the output.

Final project- cat tweetbot

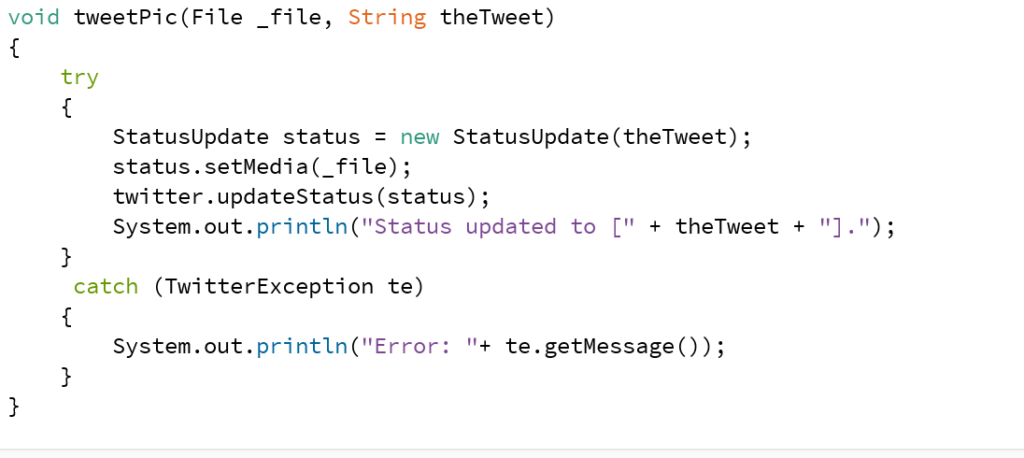
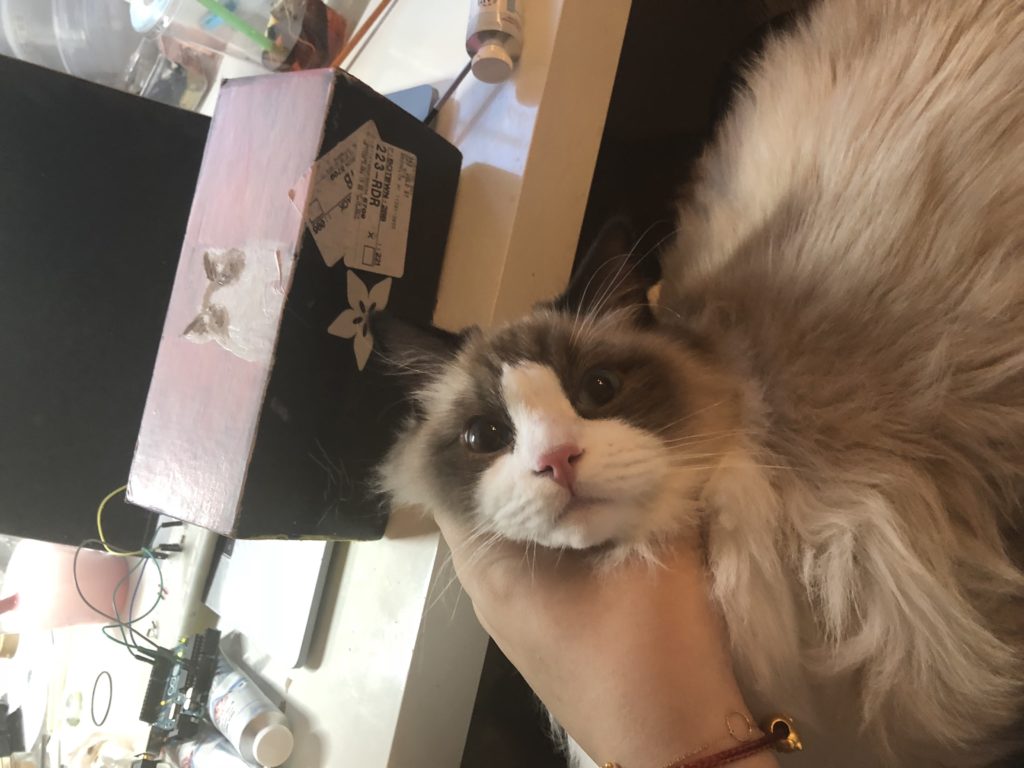
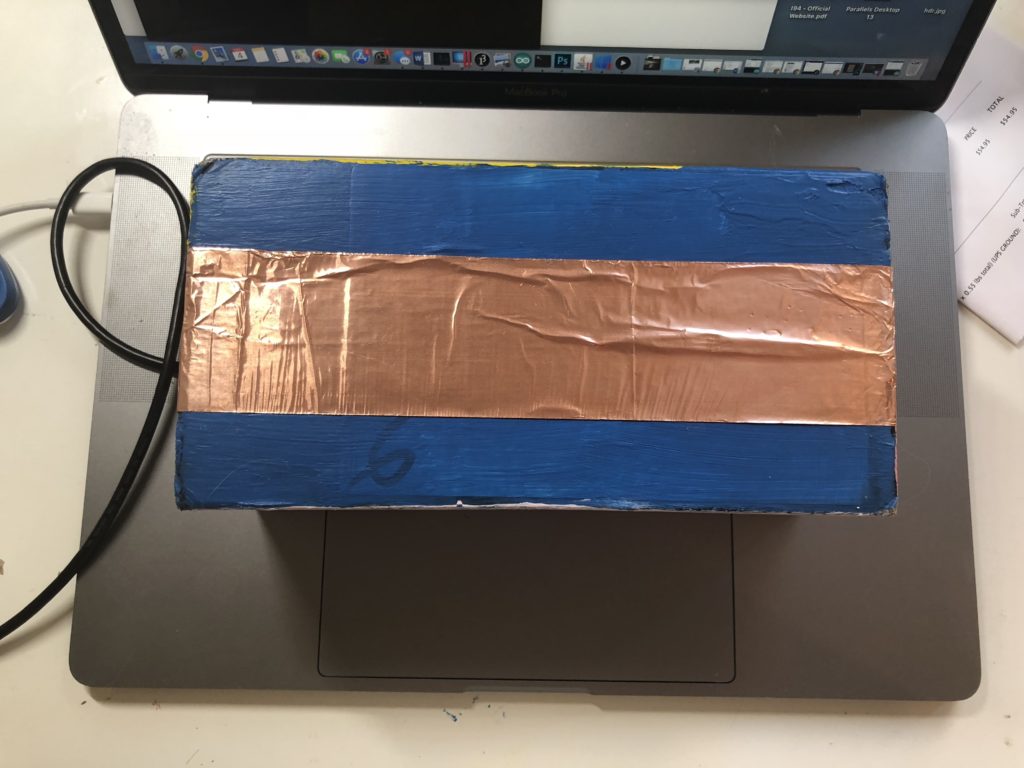
To achieve my project, I need to make capacitive sensor connects to Arduino IDE, then to processing and processing to twitter. There are two libraries to support my code: processing.serial and twitter4j (http://twitter4j.org/en/index.html)

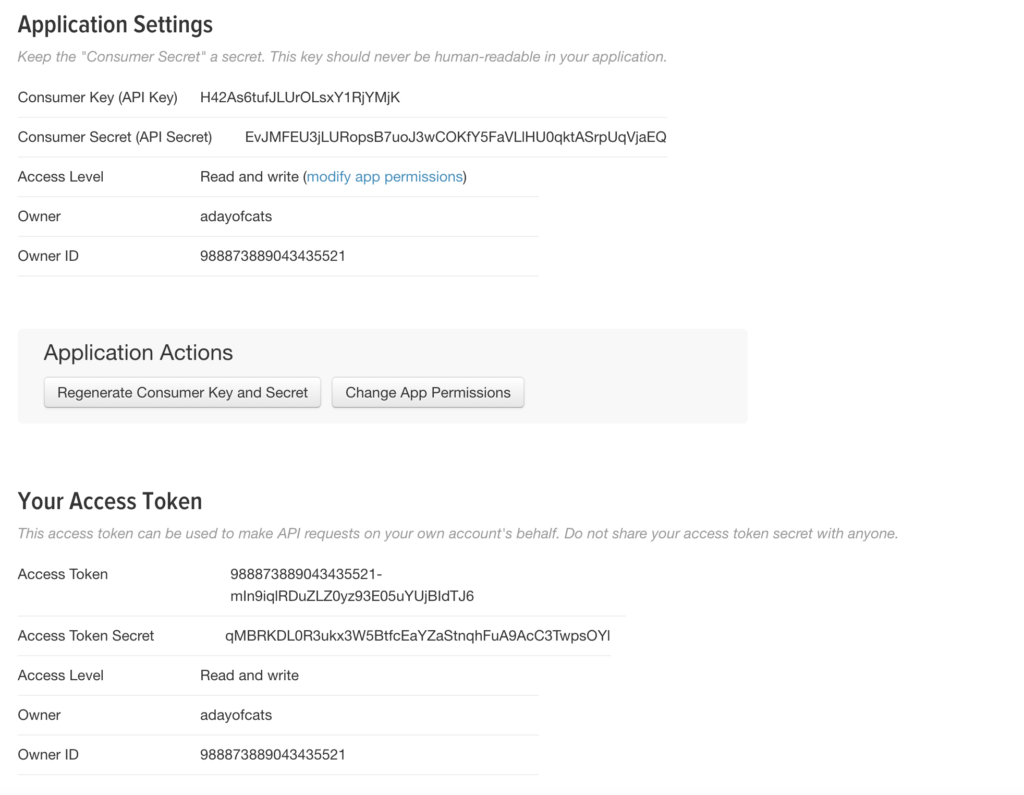
The main function of my project is to get the sensor controls when to send twitter, so I started with setting up Twitter API. I tested with using keypressed to Tweet.

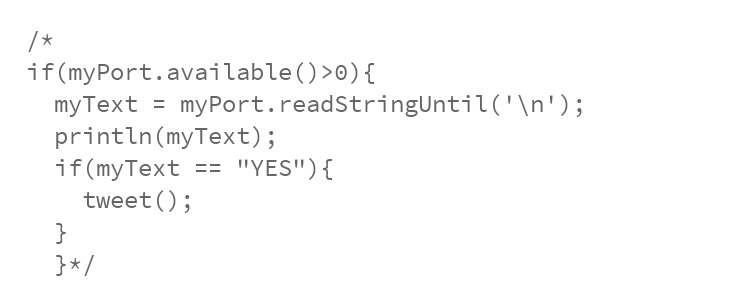
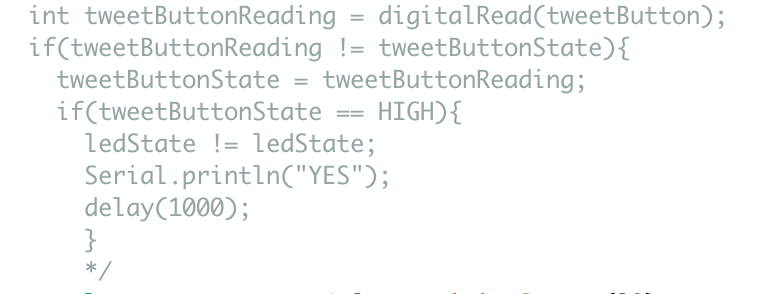
Then I tried to Tweet with a button. Here is the part I got problem with. I made Arduino IDE send a string to processing “YES” everytime the button is pressed. Processing can receive and println in the console but cannot tweet with this command. (I can’t make this work) I think this problem may be caused by the type of data. (It works when I get int values from the capacitive sensor)

After that, I wired up the capacitive sensor. I did the test capacitive sensor first and it works perfectly. But the second time, it wouldn’t show any data in the Arduino IDE. I tried the exact same code and wiring as before but it didn’t work. I changed the resistor, wiring, and breadboard. Luckily it worked in the end.

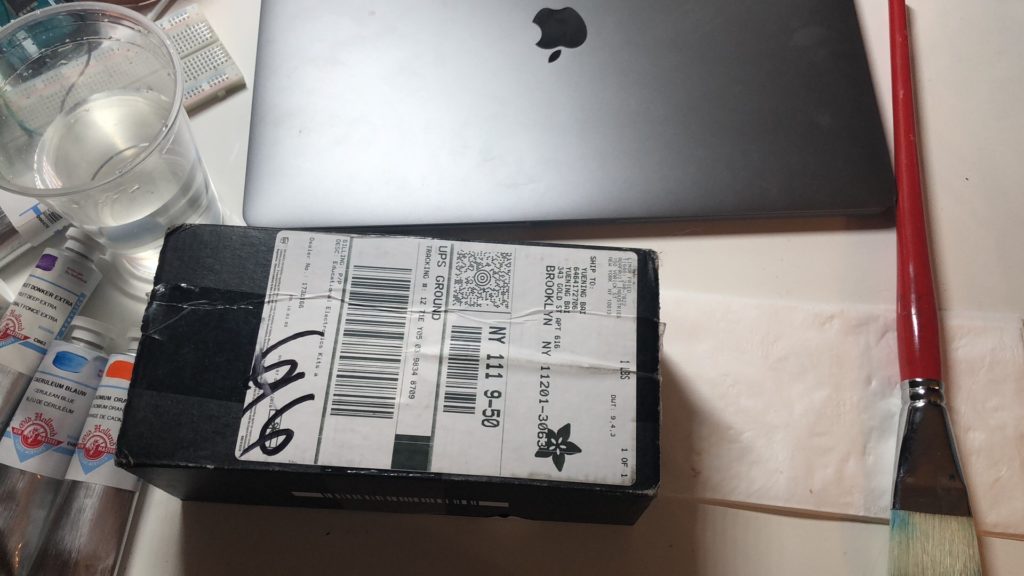
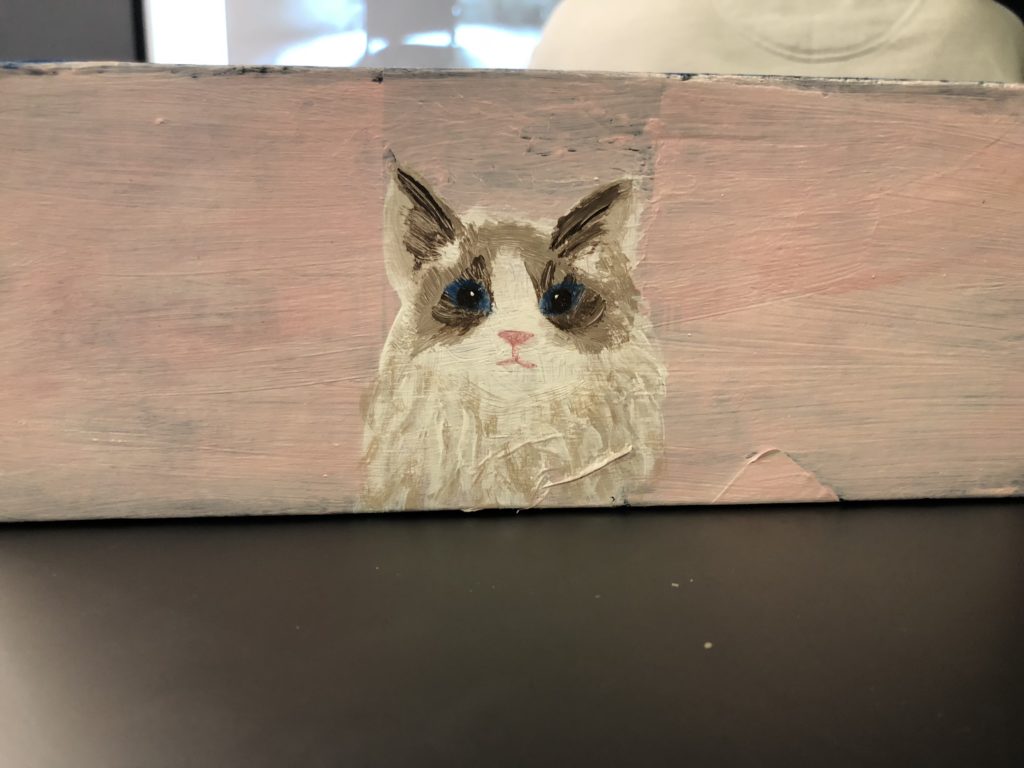
Paint the box:


Next step:

To improve my project, one of the most important parts is to set a limit/constraint to the data received by Arduino. The value now in the processing is a little bit hard to control. Next, I would use the image taken by the webcam to upload on Twitter. I always want to make a stand-alone device and I figure out I can use Xbee to let Arduino connects to processing wirelessly.


code: https://github.com/yueningbai/final_cattoy

test video:
https://vimeo.com/268033313


Final Project

For my final project I decided to try and make a music video player that utilizes the audio analyzer function to make for a more interactive experience between the sonic and visual. Additionally, I wanted to make it so the video that played was determined by the input of the viewer; operating almost as a type of Jukebox that can play different content depending on the inputs given by the viewer.

In doing this I decided that I wanted to bridge the coding class assignment with my own personal work and interests in a way that was more intentional than before. I wanted to actually film music videos for my songs that could serve as elements in the final piece; interacting with the code and bridging my music, film making and new computing skills in a cohesive manner. I shot both videos in the span of 2 hours on two separate days.

I then began by taking the visualizer that I’d created for the DOM library assignment and breaking it down to see how it could apply to my music video. I decided that given the song I wanted to use, the “scribble” library would be an interesting spin on my earlier project, incorporating geometric shapes and graphics that emulate the disorienting and scratchy texture of the song.

I succeeded in creating the sketch in which the video worked in tandem with the visualizer, but I was unable to make the input welcome page lead into the video. Additionally, when I attempted to load the second video into a different sketch using the same method as the first; the sketch refused to run.

I’m frustrated that I was unable to make a finished product, but ultimately I’m happy I managed to make one video that is significantly enhanced by the code it works with. I hope to continue this project in the future.

WORKING MUSIC VIDEOS

WalkWithME:

FLICKR:

FINAL SKETCH (non-functional): https://www.openprocessing.org/sketch/543712#

Final Project

For my final sketch, I wanted to create something that resembled a game and allowed the user to create their own universe, and the fate of their universe would be dependent on the choices they made. I completed what I set out to do; the user enters and is told to enter their name and then directed to a blank universe where they use checkboxes to create planets and sliders to manipulate the radii of the planets. The possible fates of the universe include: getting consumed by a black hole, the universe exploding, getting taken over by aliens, environmental problems, problems with meteor showers, having tense relationships with aliens, unhappy inhabitants, and successfully creating a thriving planet. My biggest hope was to get the planets to hover in place because rather than view the universe from above in a circle, I wanted the view to be of the side (so that the planets are side by side). I didn’t plan on adding the ability to alter the planet’s radius, but I wanted the user to have more input in the creation of their universe. I originally had the idea of making the game 3D, but I did not like the way the p5js spheres looked because I didn’t want the lines of the sphere to appear and I preferred the look of 2D. I was disappointed that Openprocessing changed so that the gif library no longer worked because I had to replace my gifs with still images and the gifs added movement to the sketch. Overall, I’m happy with the way my sketch turned out; if I had more time I would add more questions to the quiz and make the scoring system more complex.


Final Sketch

Final 5/4 – Shyam Mehta

For the final, I ended up creating pretty much what I had in mind.  While I was unsure if I wanted to use, p5.js or Processing, I went with p5.js, but that proved to be a little bit of an issue towards the end as I am more familiar with the random function in Processing over p5.js.  I wanted to create something a user could keep running in the background, say after a day or work or school.  Differently, I would have created more randomization of color especially for the “Partying” portion.

Final Project- The Dark Mansion

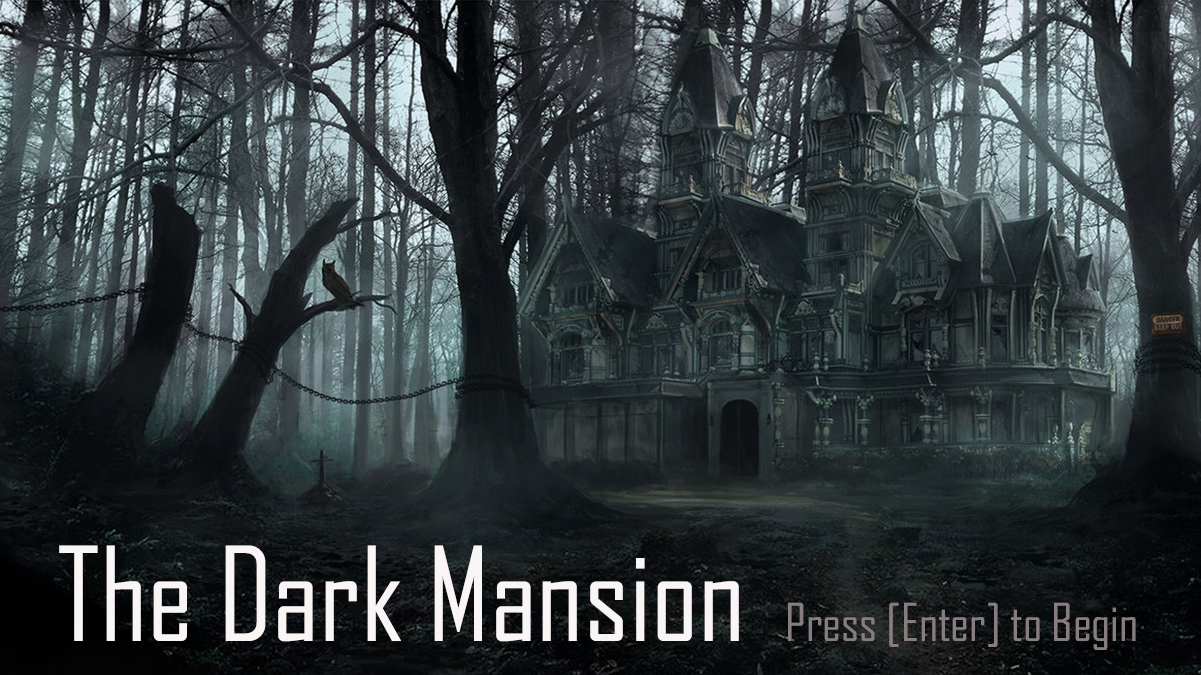
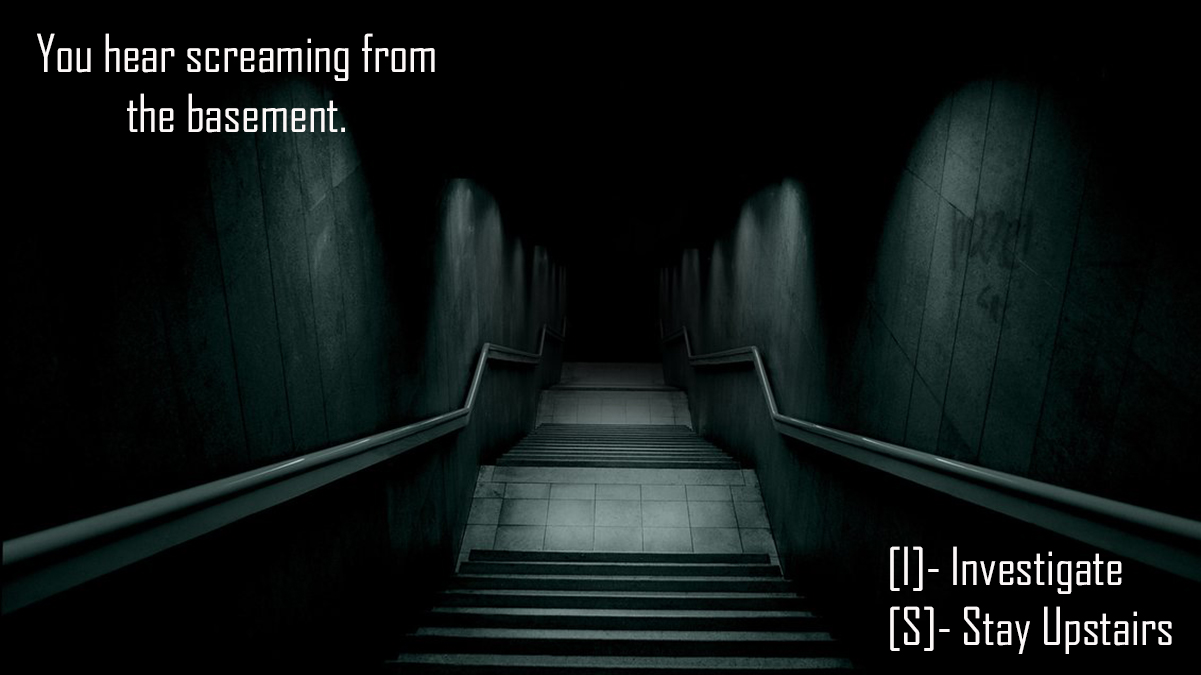
The goal for my project was to create an interactive narrative inspired by the video game “Until Dawn”, where the player makes choices that effect the outcome of the character. I wanted to utilize p5.scenemanager to take the user on a journey through different scenes, and to sound effects to certain scenes to enhance the experience. Initially, I wasn’t able to get p5.scenemanager to work, but I ended up figuring out what the problem was. The syntax for scenemanager is a little tricky, but once I was able to understand it, creating the narrative became a little easier. I was able to find images that help the user to visualize the story that I wanted to tell, and I also found background music and sound effects that fit the aesthetic of the images and the story.

“The Dark Mansion” is a fun narrative that takes the user on a journey throughout the interior of a mysterious mansion. The user has to avoid being killed by a dangerous man with an ax, while having to make a few important decisions so make it out alive.

I set out to make an interactive narrative with a variety of endings to the game, and that’s exactly what I ended up with. The narrative might not be as long as I had planned, but I was able to get p5.scenemanger to work and I was also able to add music and other sound effects to specific scenes. I also changed the narrative a bit from when I first wrote it. I made the narrative less wordy, so that the visuals can tell the story. There are 4 different endings that you could potentially get, and if you win, you are able to start the game over again to get a different ending. Overall I am satisfied with what I created. If I had more time, I would make the narrative longer, and I would add more visual/sound effects to make it more interesting. I might even add puzzles that the user has to complete to get a certain ending. My code is on OpenPrecessing:

Final Project

Inspiration:

My inspiration came from this gif I saw a while back and thought it was super cute.

I wound up with almost my full vision for the game, except for a few things. My game consists of a timed whack-a-mole style game where the holes become active randomly while a timer counts down from 30 seconds while the number of missed “whacks” are recorded and reset after 30 seconds. Additionally, I included a level counter which goes up after missing less than four whacks after 30 seconds, else, it resets back to one.

I originally wanted a whack-a-kitty game with two timers, one to pre-countdown to let the player prepare, and the other to go off after the countdown when the game begins. I also wanted the game to get harder ad the levels went up, but didn’t have enough time to implement that. I put in code to have sound effects, but I could not seem to find the sound library to put into openprocessing.

Final Code:

DISCLAIMER: NO KITTIES WERE HURT IN THE MAKING OF THIS GAME

Final Project Update

For my final project, I have a title scene before entering the music visualizer. I’m using scene manager to switch between these two screen, and it worked until I started coding more complex elements in my music visualizer scene. Once I write code in the music visualizer scene, sceneManager “breaks” altogether. In my music visualizer scene, I’m using the computer’s camera to record the viewer. I’ve written a few elements to alter the viewer’s appearance through the camera/pixels, but I’m having trouble getting them to work alongside sceneManager and potentially the song itself, but I’m not sure yet because sceneManager breaks before I can see what happens on screen. I can add/change basic elements, such as the background color altering or objects moving in time to the music, but manipulating the camera’s footage seems to be giving me the most problems. I also have yet to add sound that the audience can interact with, but I plan to preload sounds into the keys on the computer so the audience can press them to produce sounds.

Final Update

This week’s biggest accomplishment was getting the radio buttons to work; now the planets can be added and removed from the universe. Last week I was unsure about what I wanted to do with the universe after it has been created; during this week I worked on making a quiz that will decide the fate of the universe created. The fate of the user’s created universe is dependent on the decisions they make in the quiz as well as the number of planets that are created. Based on the score, a message will be generated that describes the fate of your universe. I also added a button that allows the user to start the ‘game’ over once they get their universe’s fate (this way they can create new universes and possibly get a few outcome). This week I am going to translate my code so that it uses the scene manager library. After talking to Scott, he recommended I use that instead. This next week I will be working on moving my code and making final touches. I want to make it more stylized; I’m going to finalize text and button placement and pick the final colors.

Final Project Update

For my final project, virtual pet game, I have made up to the timer part.
I used millis() to calculate time on when a certain text should appear. I also implemented all the graphics the is in the game. I figured out a score system where each two points makes the pet “grow.”

One problem I ran to was not my code but my computer and the program. I have been having a lot of issues with my computer and many times it force quits all my applications I’m running, including Chrome. So It happened again where my computer force quitted while my tab with my project I was working on. And for some reason I cannot restore.

But since I already accomplished and figured out how to do timer, doing it again shouldn’t take that long. One more big component I need to add is the interactive part of the game, where the user can feed and play with the pet.
If I am feeling ambitious with time, I want to add a feature where the user can take a picture with their pet. I would have to do this by calling the webcam and placing the pet in the frame.